> ## Documentation Index
> Fetch the complete documentation index at: https://docs.hyra.io/llms.txt
> Use this file to discover all available pages before exploring further.
# Logbook
 ## What is Logbook?
Logbook allows you to log all of the actions taken to the staff. From warnings, promotions, demotions, even username changes.
## Creating a Post
To create a post, follow the steps below:
To continue, you'll need the following permission: View Other Staff and Post to Logbook
Firstly, head over to the Staff's Directory Profile. In there, go to the Logbook tab.
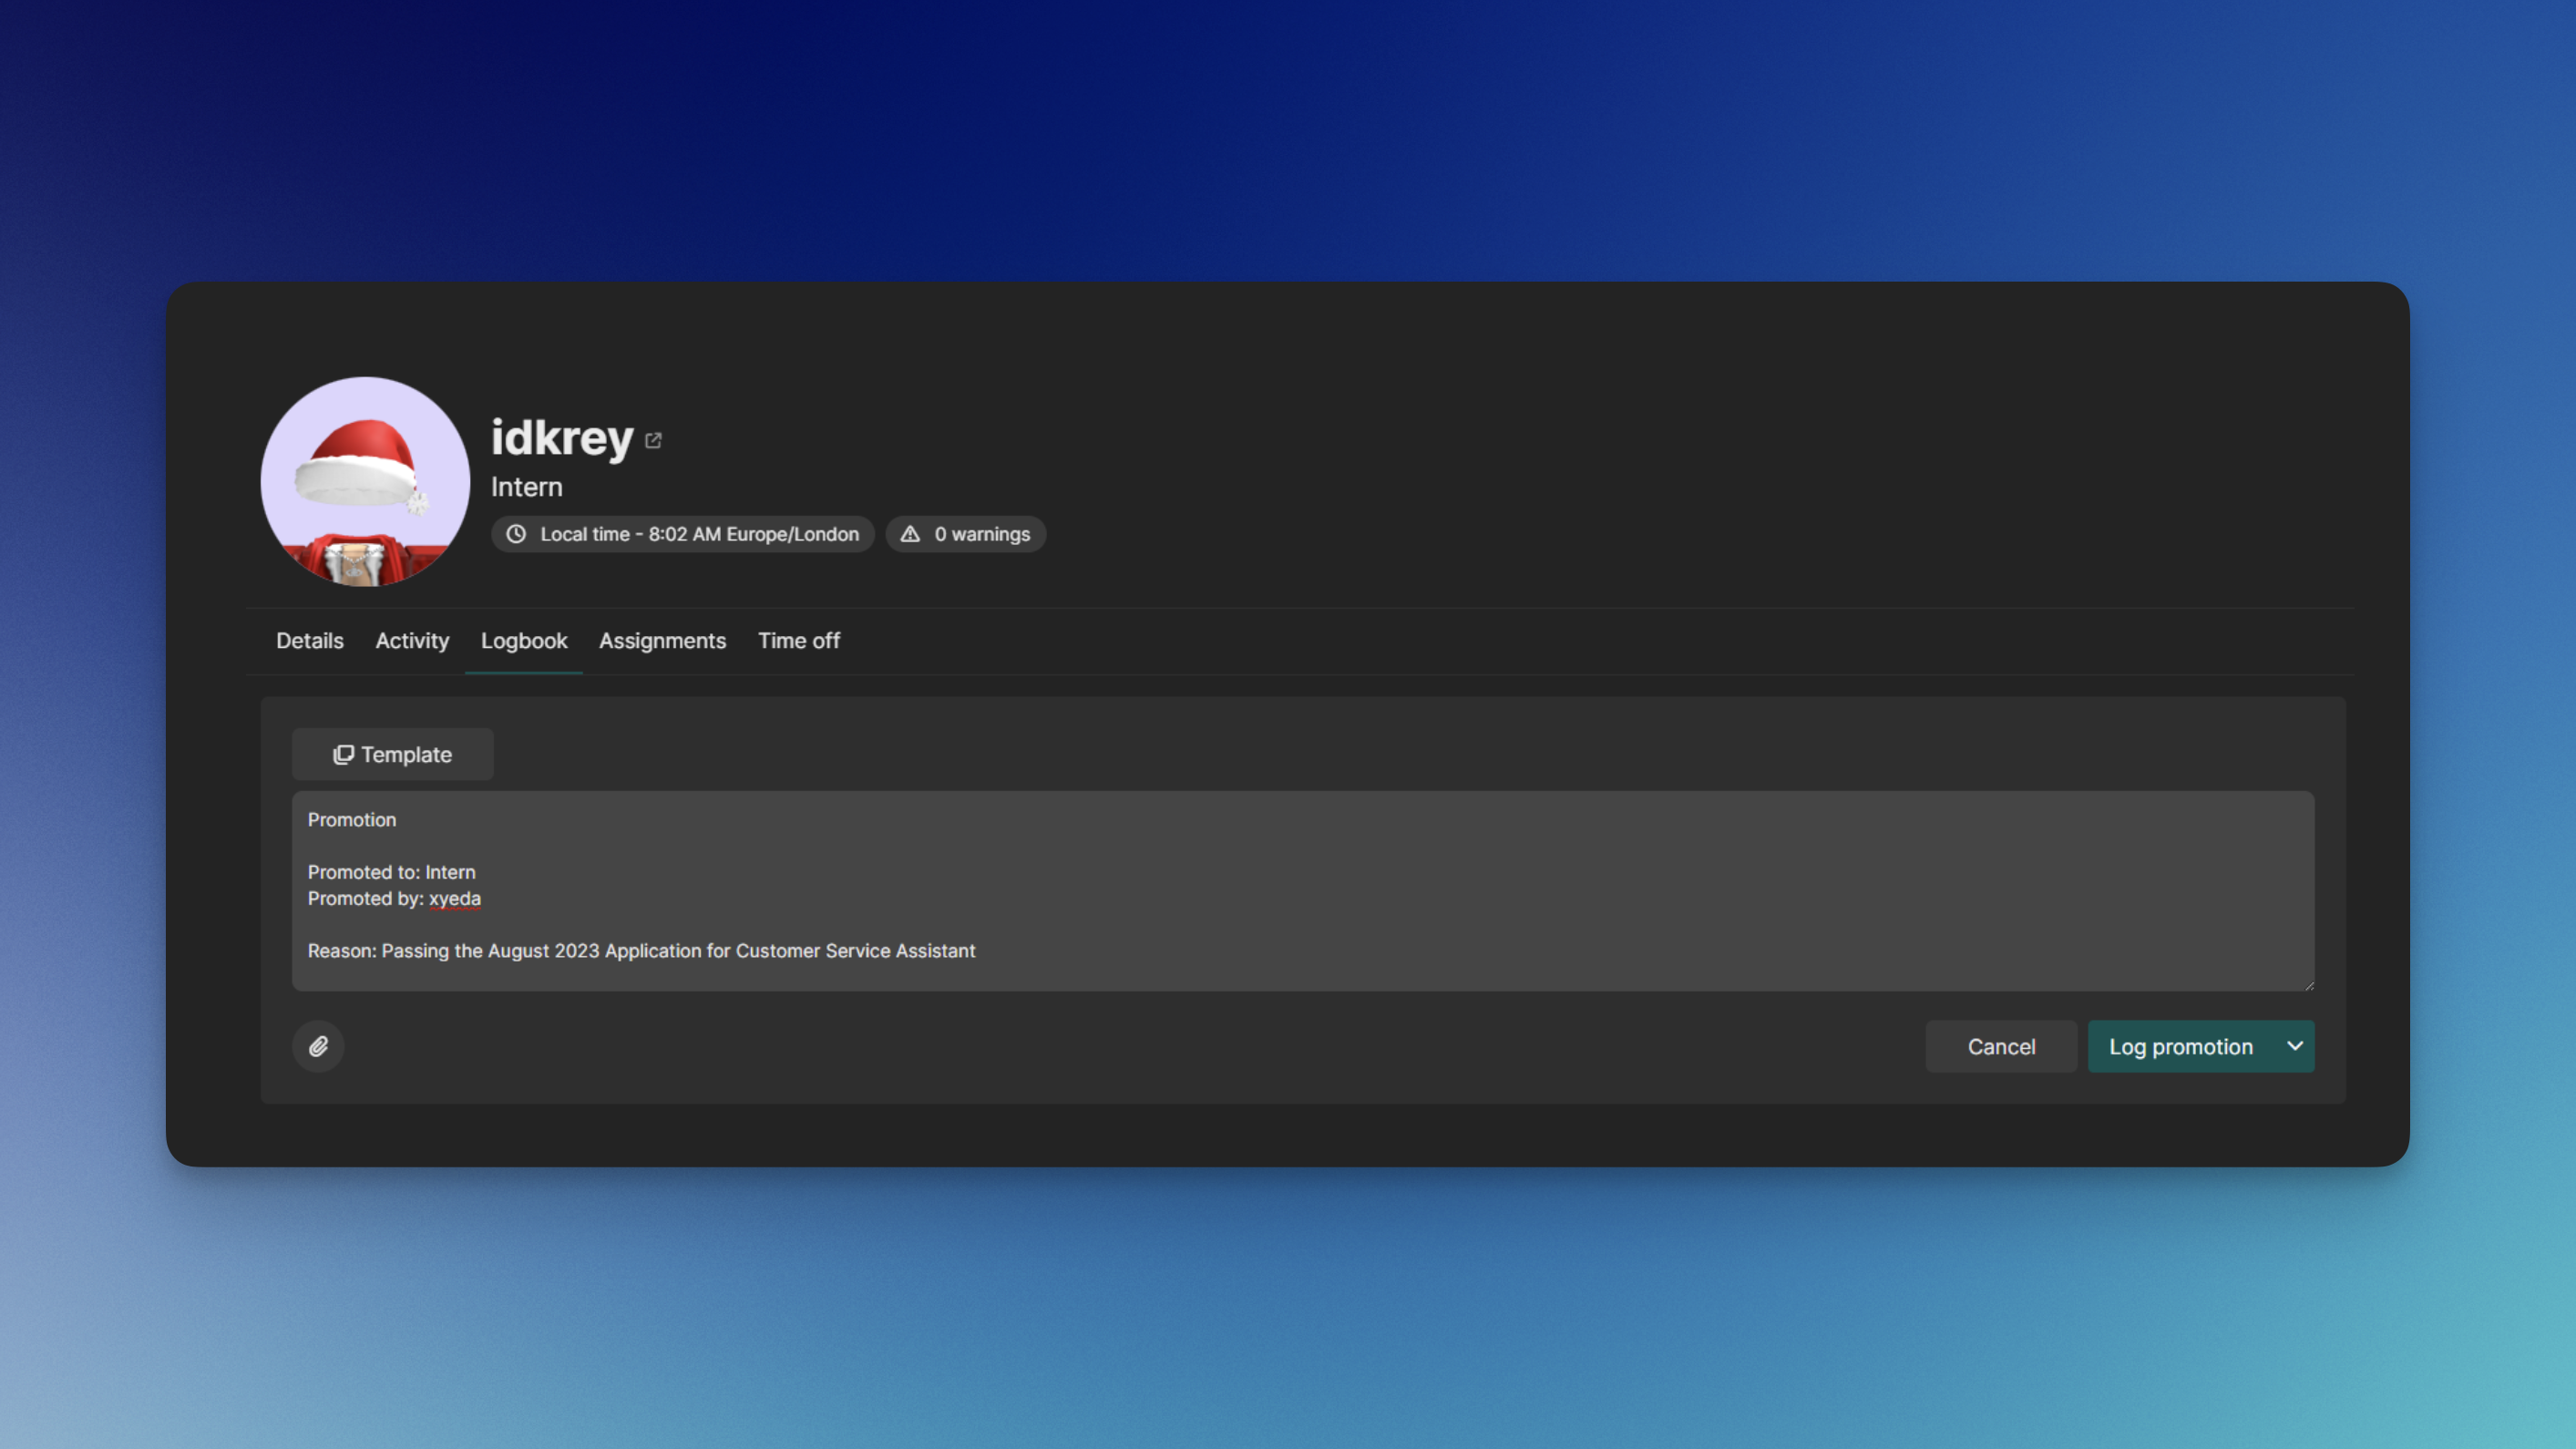
To create a post, click Create Logbook Entry, then type in your comment. You can then upload attachments by clicking the paperclip button on the bottom-left.
Once done, hit Log Note. You can also find the different options by clicking the dropdown next to the button.
Extra Logbook Features
* For Warnings, you can set them to expire automatically after a certain amount of days.
* You can also copy from a template by clicking the Template button at the top-left.
To delete a post (if available), simply just click the trash icon on the top-right corner of the post.
## Cloning Logbook Posts
Cloning Logbook Posts allow you to transfer the logbook of one user's to another. Follow the steps below:
In order to do this, you must have the following permission: Workspace Admin
Firstly, head over to the Workspace Settings > Logbook > Copy from user.
Fill in all of the fields, from the source user and the user that will get the logbook, and hit Copy to user
## Creating Logbook Templates
Creating Templates allow you to convinently copy and paste a template to your logbook post.
In order to do this, you must have the following permission: Workspace Admin
Firstly, head over to the Workspace Settings > Logbook > Templates.
Click Create Template, give it a name and the content below.
## What is Logbook?
Logbook allows you to log all of the actions taken to the staff. From warnings, promotions, demotions, even username changes.
## Creating a Post
To create a post, follow the steps below:
To continue, you'll need the following permission: View Other Staff and Post to Logbook
Firstly, head over to the Staff's Directory Profile. In there, go to the Logbook tab.
To create a post, click Create Logbook Entry, then type in your comment. You can then upload attachments by clicking the paperclip button on the bottom-left.
Once done, hit Log Note. You can also find the different options by clicking the dropdown next to the button.
Extra Logbook Features
* For Warnings, you can set them to expire automatically after a certain amount of days.
* You can also copy from a template by clicking the Template button at the top-left.
To delete a post (if available), simply just click the trash icon on the top-right corner of the post.
## Cloning Logbook Posts
Cloning Logbook Posts allow you to transfer the logbook of one user's to another. Follow the steps below:
In order to do this, you must have the following permission: Workspace Admin
Firstly, head over to the Workspace Settings > Logbook > Copy from user.
Fill in all of the fields, from the source user and the user that will get the logbook, and hit Copy to user
## Creating Logbook Templates
Creating Templates allow you to convinently copy and paste a template to your logbook post.
In order to do this, you must have the following permission: Workspace Admin
Firstly, head over to the Workspace Settings > Logbook > Templates.
Click Create Template, give it a name and the content below.