Creating a Role
To create a role, follow the steps below:To continue, you’ll need the following permission: Workspace Admin
1
Go to the Roles Page
Firstly, go to the Roles Page by going to Settings > Roles.
2
Create a Role
Click Create Role in the top and it should create a role named “new role”.
3
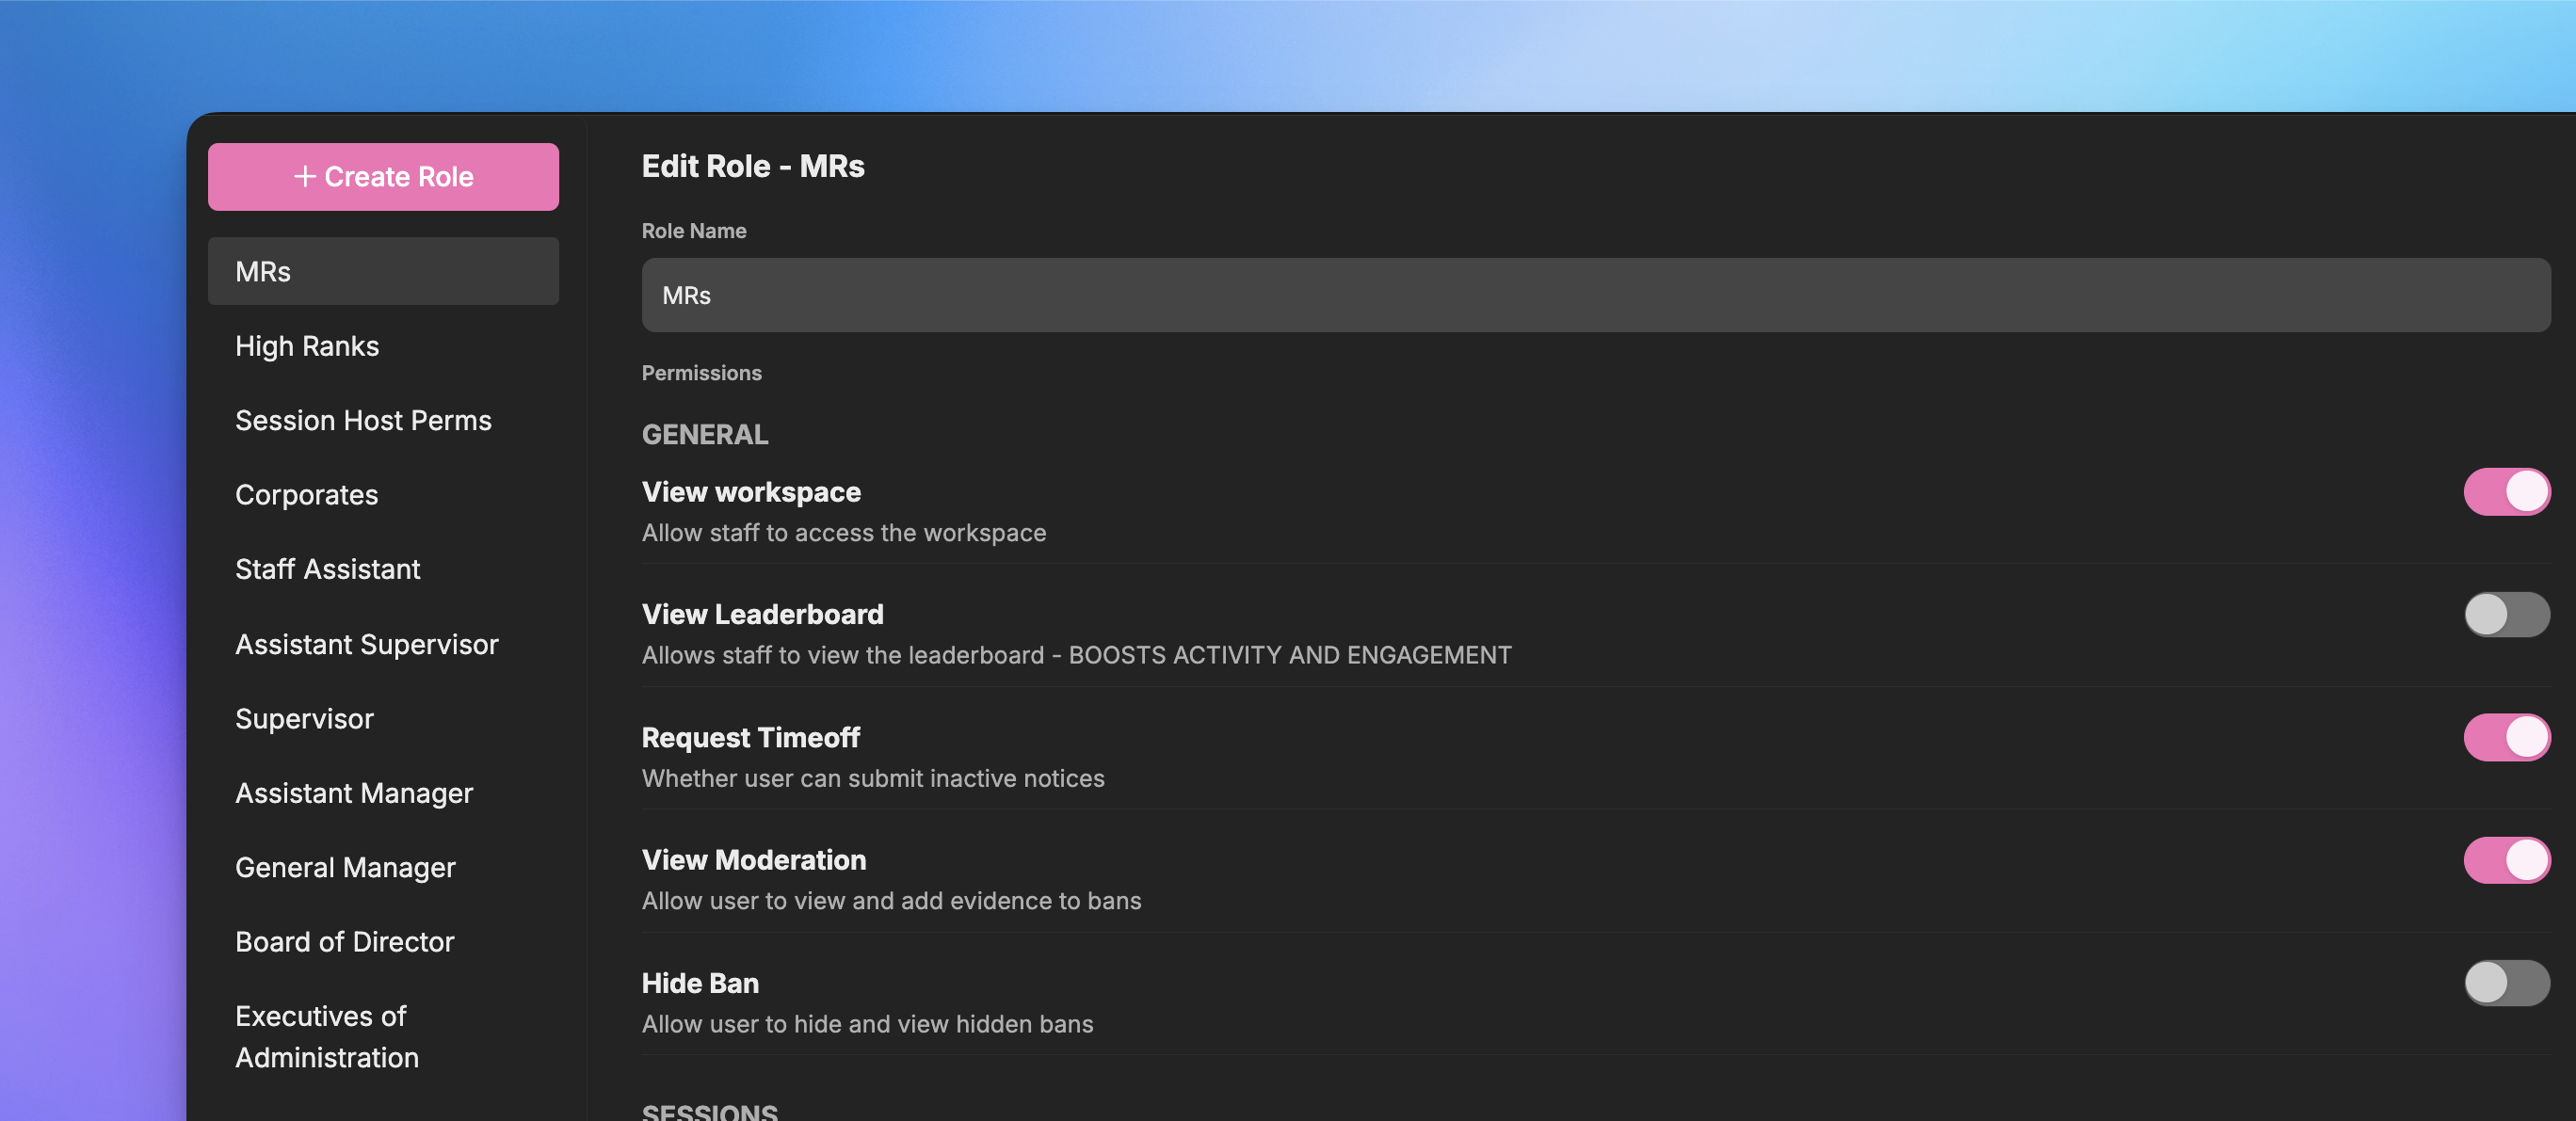
Select Which Permissions to give.
After creating a role, you’ll need to give it permissions. To give it permissions, just toggle the switch located on the right side of the permission.
4
Assign the Role to Your Staff!
Once the permissions have been selected, scroll down until you see Assigned Group Roles and Manual Members.For Asisgned Group Roles, select which roles by switching the toggle on or off will recieve the role and its permissions. For Manual Members, you’ll need to manually type their usernames and select from the dropdown.Be sure to hit Save to save your role!
Administrative Permissions
Some permissions can cause harm to your workspace if given to a bad actor. Here’s the list of all levels of permissions:- 🟩 Basic Permissions
- 🟨 Staff Permissions
- 🟥 Administrative Permissions
The permissions below can be given to everyone without harming your workspace:
- View Workspace
- Request timeoff
- View Knowledge Library
- View Orders
- View Leaderboard
- View Promotions Recommendation
- Create Promotion Recommendations
- Upvote Promotion Recommendations
- Assign Host to Self (for Hosts)
- Assign Co-Host to Self (for Co-Hosts)
- Create New Server (for Hosts and Co-Hosts)
- Change Week on Calendar
Dependent Permissions
Some permissions are hidden because they are dependent to a parent permission. This means in order for them to be given, they will need their parent to be enabled first. Below is the list of all parent permissions:- View Workspace
- View Knowledge Library
- View Other Staff
- View Orders and Players tab
- View Promotions Recommendations